Schedule
Schedulers are used in the Synergy IDE to define time-based automated jobs. These jobs can invoke REST APIs, execute methods from DLLs, or start flows at scheduled intervals using triggers and calendars.
The Schedule Designer module allows the execution of scheduled actions in a project by adding .sch files under the Schedules section of the IDE. These scheduled actions can be triggered based on various time patterns and optionally excluded using calendar rules.
Scheduler Configuration Process
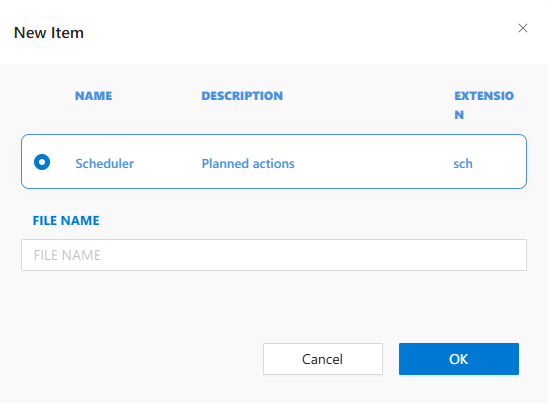
1. Add a New Scheduler
In Solution Explorer, right-click the Schedules section and choose New Item.
2. Add a Job
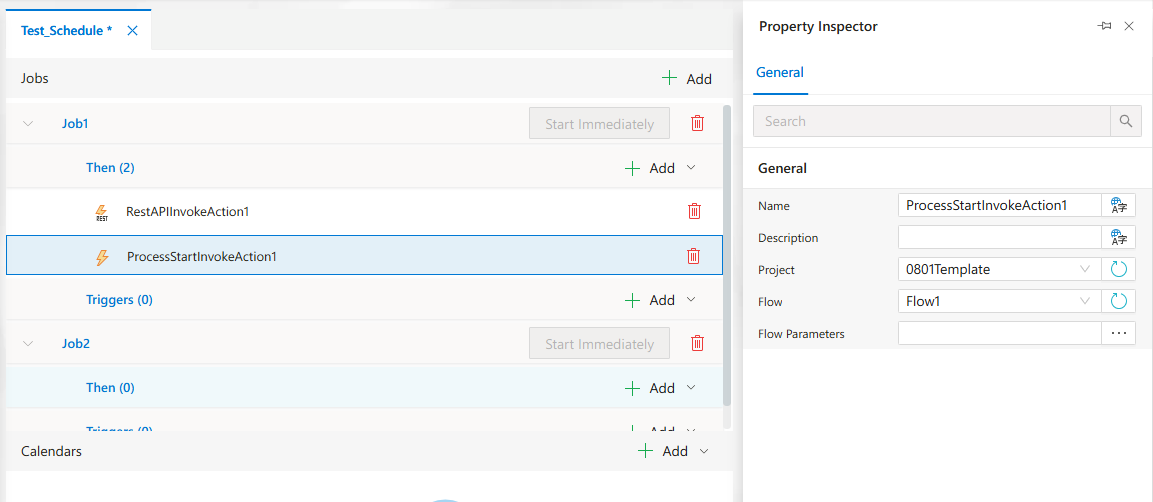
Each schedule contains one or more jobs. Click the Add button under Jobs to create a job.
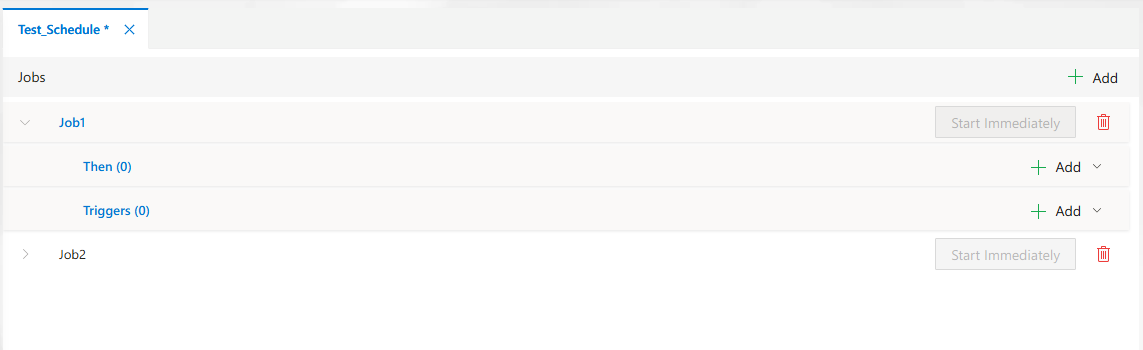
Each job should include:
- A unique name
- Description
- A valid
Personal Access Keyfor execution
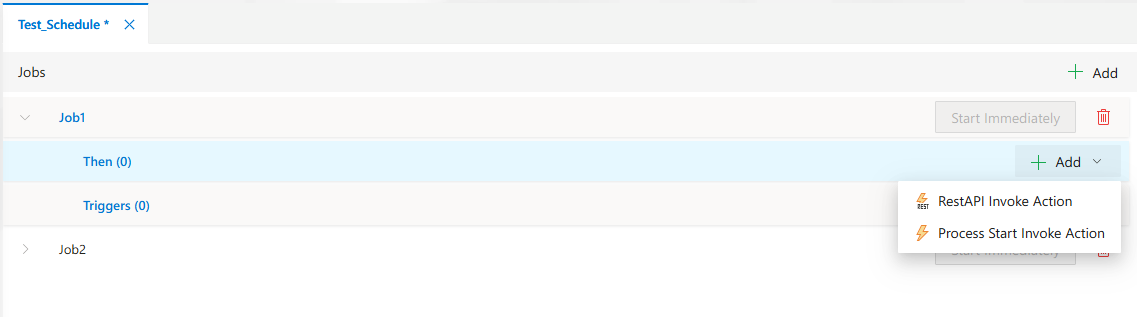
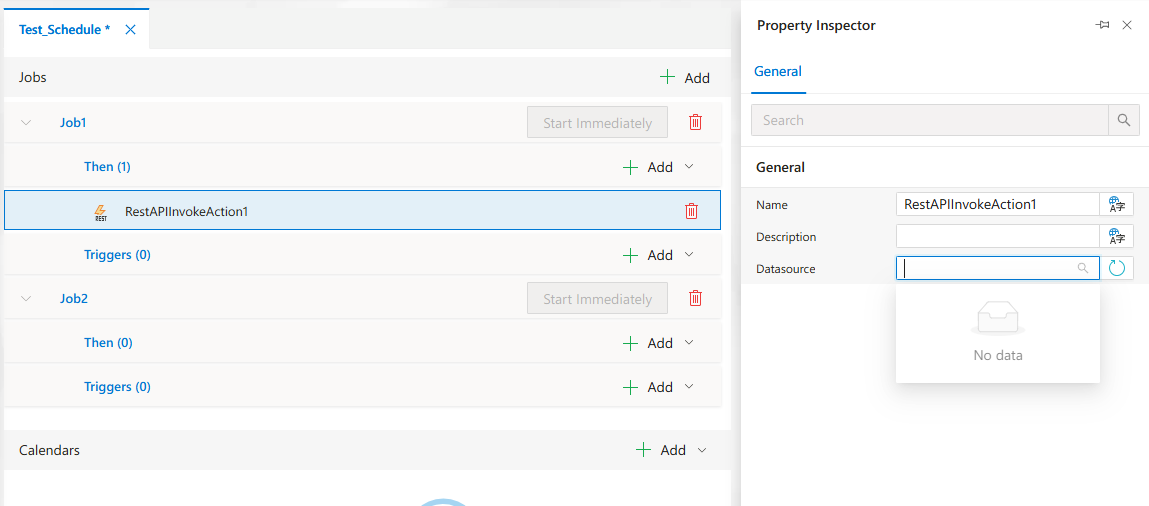
3. Define Actions
Within the job, click the Then section to define one or more actions:
RestAPIInvokeAction– External REST API callProcessStartInvokeAction– Start a process within the platform
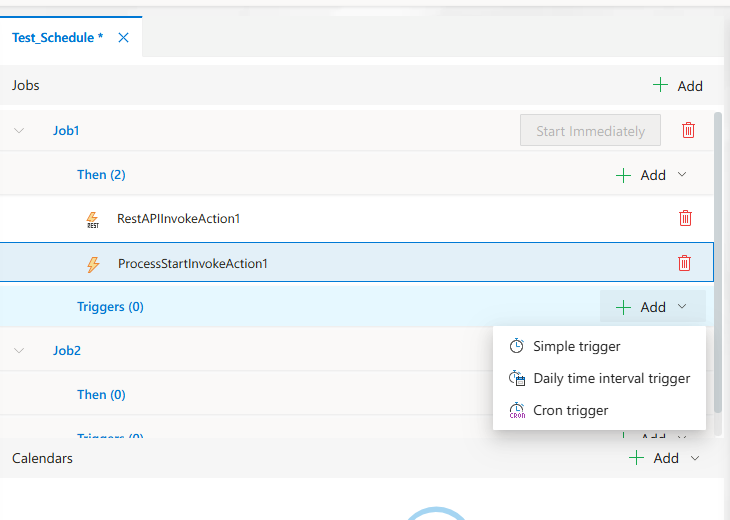
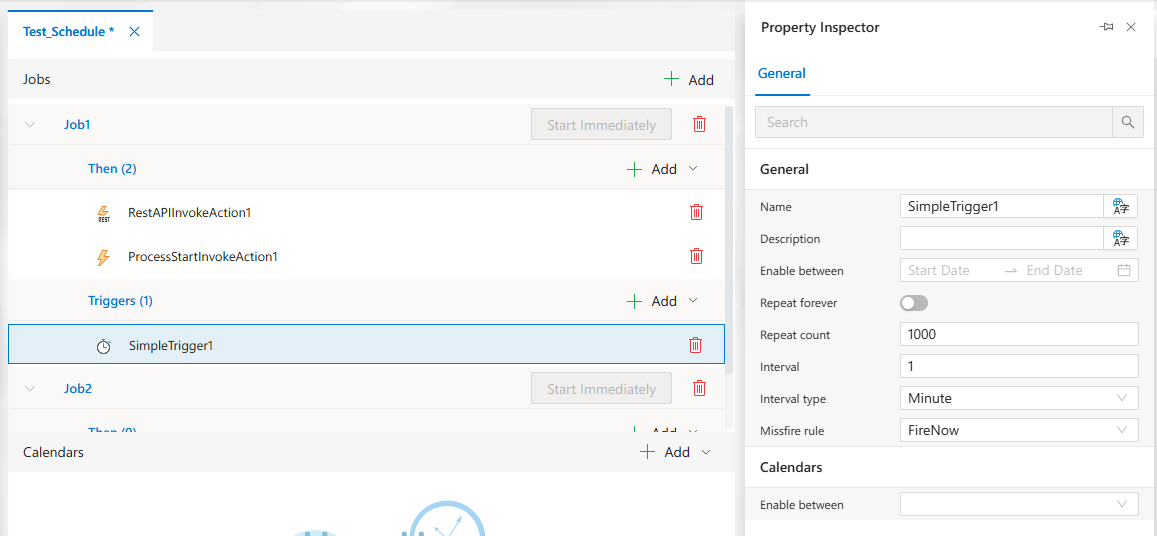
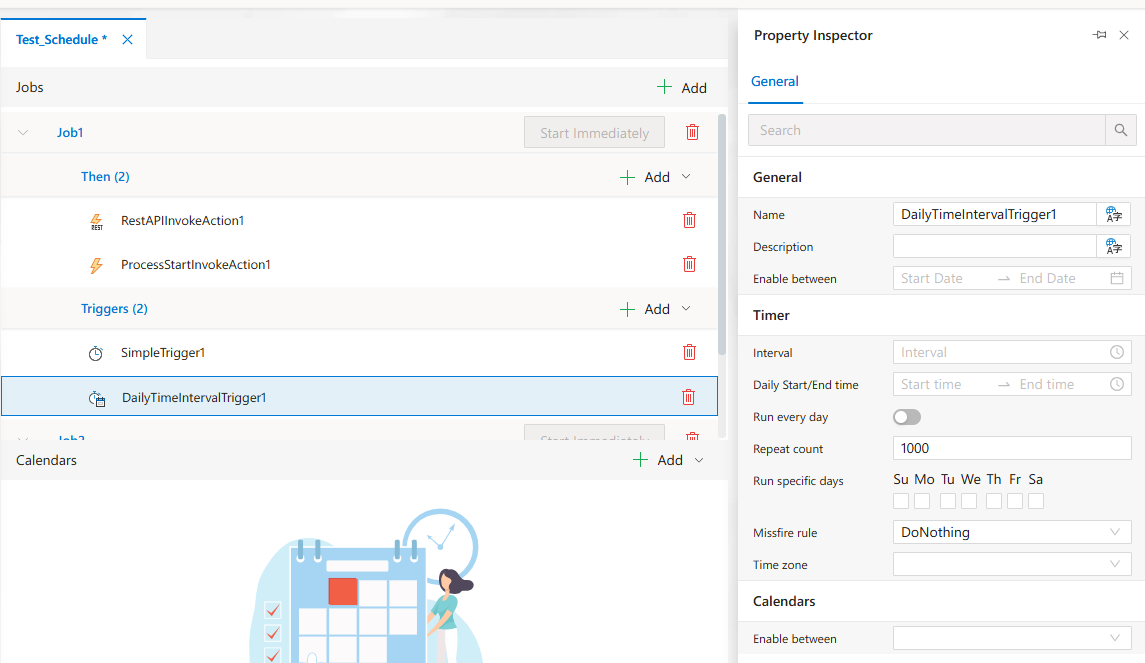
4. Configure Triggers
Define when the job should execute by adding one or more triggers.
Supported trigger types:
SimpleTriggerDailyTimeIntervalTriggerCronTrigger
5. Attach Calendar Rules (Optional)
Calendars restrict when jobs can or cannot run (e.g., holidays or weekends).
Click the Add dropdown under Calendars and choose one of the following:
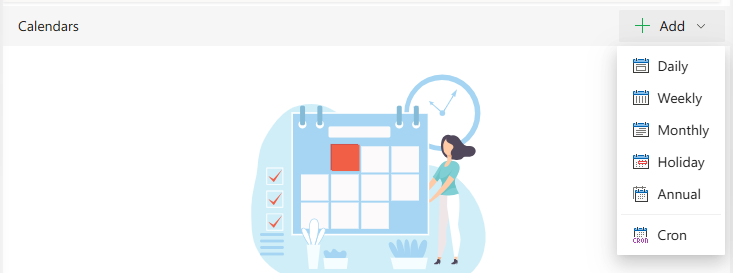
-
Daily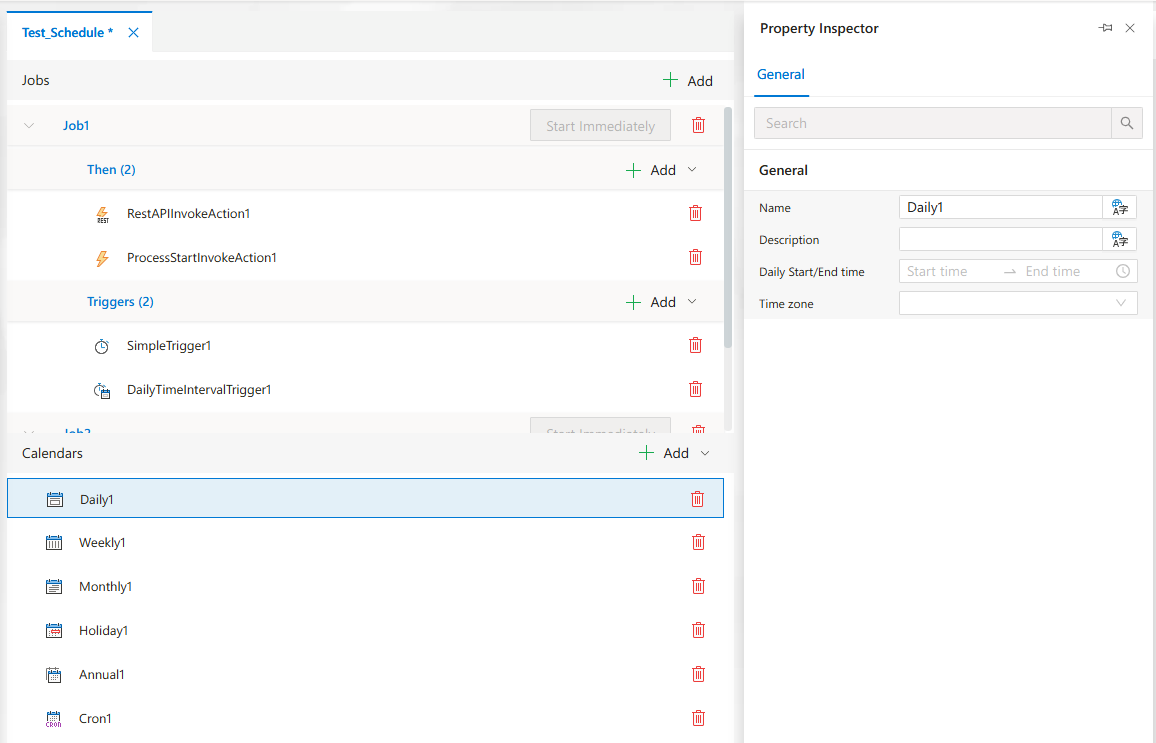
-
Weekly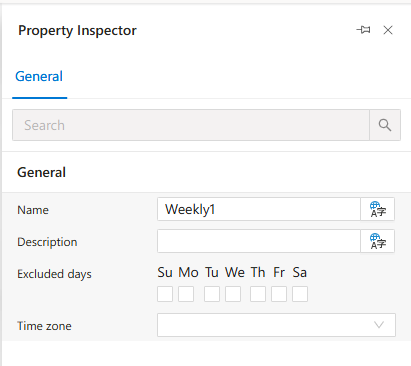
-
Monthly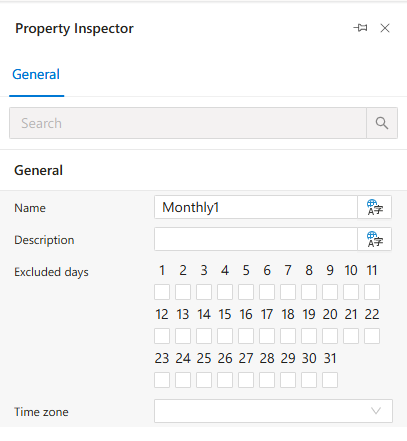
-
Holiday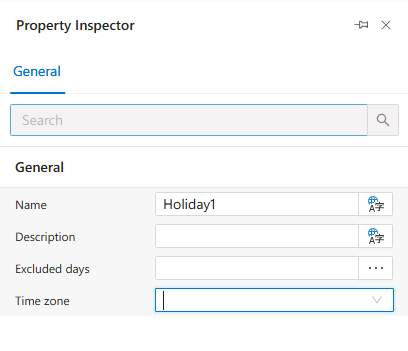
-
Annual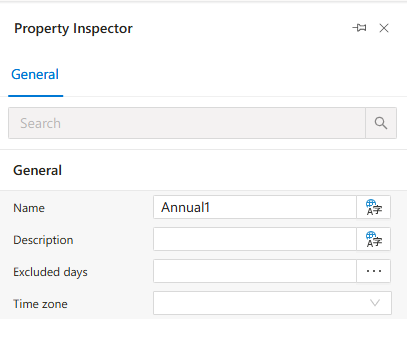
-
Cron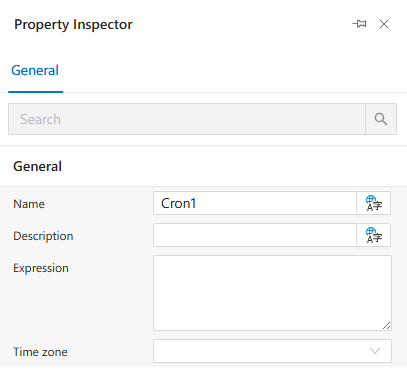
Managing Schedule Files
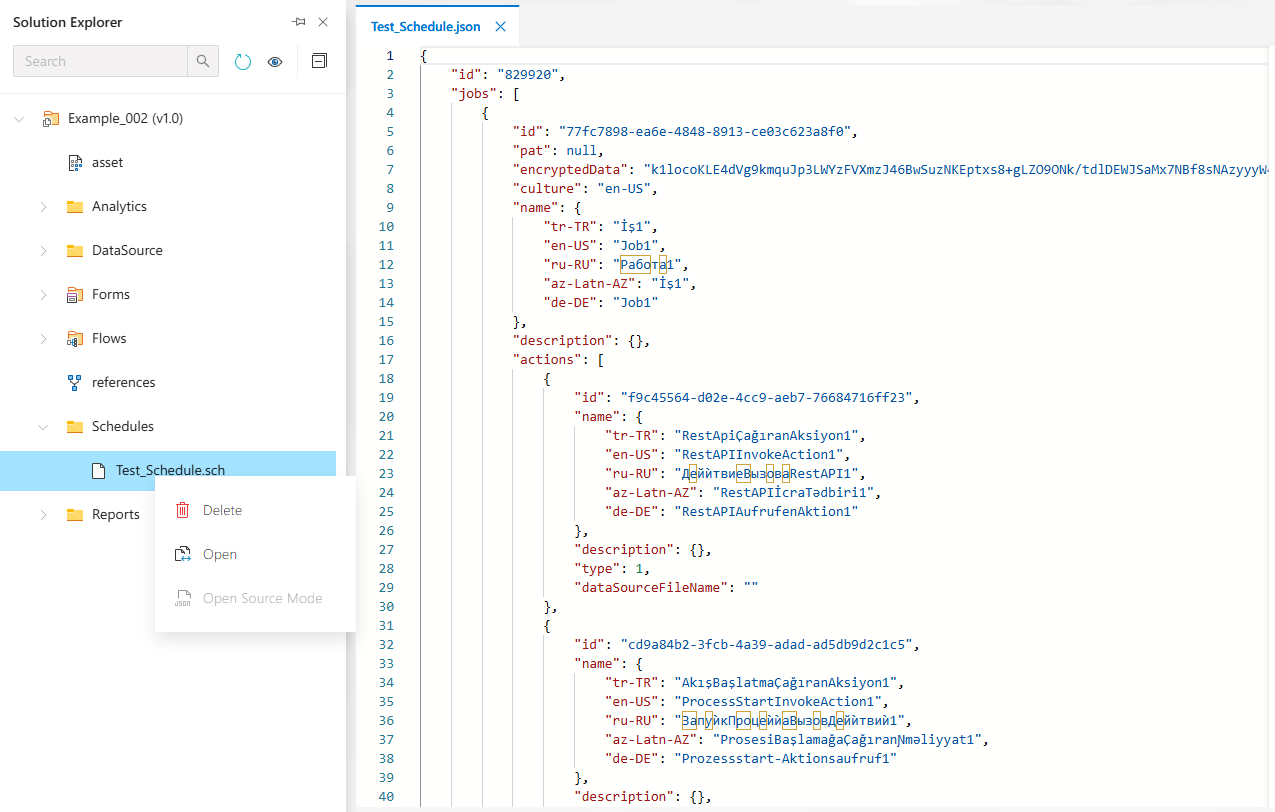
All schedules are stored in .sch format under the Schedules folder.
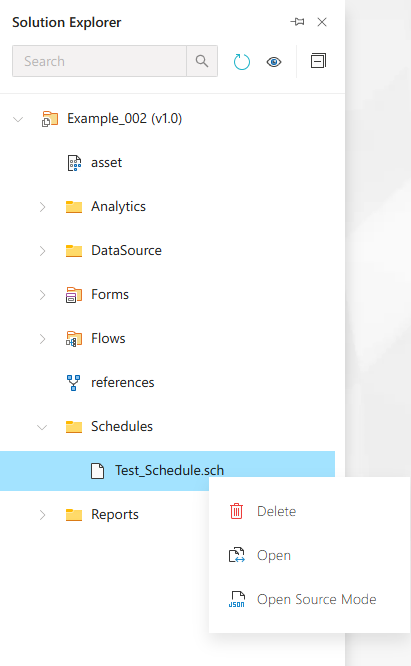
To edit a schedule's JSON definition, use Open Source Mode.
FAQs
- How Can I Exclude Holidays Or Specific Dates From Job Execution
- What Is The Difference Between Simple Daily And Cron Triggers
- How Does Time Zone Configuration Affect Cron Trigger Execution
- What Types Of Triggers Can I Use In A Schedule
- Why Is My Scheduled Job Not Being Triggered
- How Do I Call A Method From A DLL In A Scheduler Job
- Do I Need A Personal Access Key For My Job To Work
- Can I Define Multiple Jobs In A Single Schedule File
- Can I Start A Workflow From A Scheduler Job
How To's
- Triggering A REST API From Scheduler
- Starting A Workflow From Scheduler
- Restricting Trigger Execution With A Calendar
- Setting A Personal Access Key For A Job
- Configuring A Cron Trigger
- Adding A Method Invoke Action
- Validating Scheduler Configuration
- Adding A Trigger To A Job
- Creating A New Schedule
- Configuring A Calendar For Scheduling Exceptions